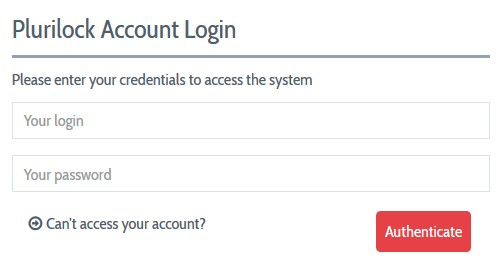
To sign in to the Admin Console:
Enter the address of your admin console into your browser's URL bar, i.e. https://myinstancename.plurihost.com.
Type the username and password of the administrator account you created after receiving and using your account activation email.
- If your organization requires multi-factor authentication (MFA), you will either be prompted for a one-time password code (if you have already enrolled an authenticator app) or shown a QR code to enroll an authenticator app such as Google Authenticator, Duo, or Okta Verify. In either case, complete the MFA workflow.
The DEFEND console employs a permissions system to manage the tasks and features available to any administrator account. The features that you may access are controlled by permissions settings for each account created by the primary or "super" administrator of your DEFEND instance.
The first administrator of your organization's DEFEND instance has all permissions enabled by default and can perform ALL tasks in the Admin Console and has the responsibility of managing the Plurilock server by creating new administrator accounts and managing their roles and privileges.
If you are the "super administrator" of your organization's DEFEND instance, it is strongly recommended that you create other, ‘regular’ administrator accounts with more limited privileges to manage day-to-day operations.
NOTE
You can have more than one "super administrator" account by enabling all privileges for other newly created accounts, but this practice is strongly discouraged.
After a successful Admin Console login, DEFEND's operational and system status dashboard is displayed. This dashboard displays summary information about the operation of DEFEND and the flow and throughput of authentication events.
Creating a Continuous Authentication Site
If you are the first administrator to log into your organization's DEFEND instance, you must create at least one new "Site" with which users will be associated.
To do this, visit Continuous Authentication → Sites and click Create Site. Provide a name for the site, a web URL associated with the site, and an admin email for the site. For most organizations, one site is sufficient, and the URL in question is the company's website.
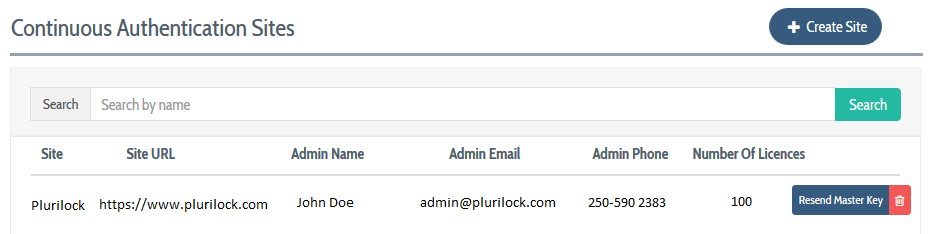
When a site is created, the DEFEND console generates and emails a master key that will be used during deployment when installing the DEFEND agent onto workforce workstation(s) and computer(s). The master key is sent to the admin email provided for the site.
Sites are generally used purely for accounting purposes, providing a way to segment very large workforces by location or company unit in user account records. Beyond this simple accounting logic and the requirement to provide a site's master key for DEFEND agent installation, sites do not functionally affect the day-to-day operation of Plurilock DEFEND.
Table of Contents
- Front Matter
- Trademarks
- Copyrights
- License Conditions
- Disclaimer
- Contact
- Background
- Plurilock DEFEND Platform
- DEFEND Architecture Details
- First Login to the Admin Console
- Creating a Continuous Authentication Site
- Configuring Services
- Configuring Email Service
- Configuring Out-of-band (OOB) Notifications
- Configuring SMS Notifications
- Configuring Authy (Push Notifications)
- Configuring Health Notifications
- Configuring Identity Providers
- Configuring Webhooks
- Webhook Data Format
- Creating and Managing Administration Console Users
- Creating an Administrator Account
- Editing Your Own Admin Account
- Managing Administrator Roles and Permissions
- Continuous Authentication
- Overview
- Deploying Users
- Managing Continuous Authentication Behavior and Enforcement
- Creating and Configuring Groups
- Group Engine and Policy Settings — Application Rules
- Group Engine and Policy Settings — Biometrics
- Group Engine and Policy Settings — Enforcement
- Group Engine and Policy Settings — Data Deletion
- Moving Users Between Groups
- Managing User Biometric Profiles
- Monitoring Alerts
- Using Continuous Authentication Logs
- Understanding Risk Levels and Log Outcomes
- Automated Engine Training
- System Dashboard
- System Audit Logging and Appendices
- Checking the System Log
- APPENDIX 1: Configuring SMS Notification Service
- APPENDIX 2: Configuring Push Notification Service
Was this article helpful?
That’s Great!
Thank you for your feedback
Sorry! We couldn't be helpful
Thank you for your feedback
Feedback sent
We appreciate your effort and will try to fix the article