Using the settings module
Go to Plurilock AI ➔ Settings ➔ Preferences
Here admins can enable iLogin, Chrome extensions, general, company website, email and session
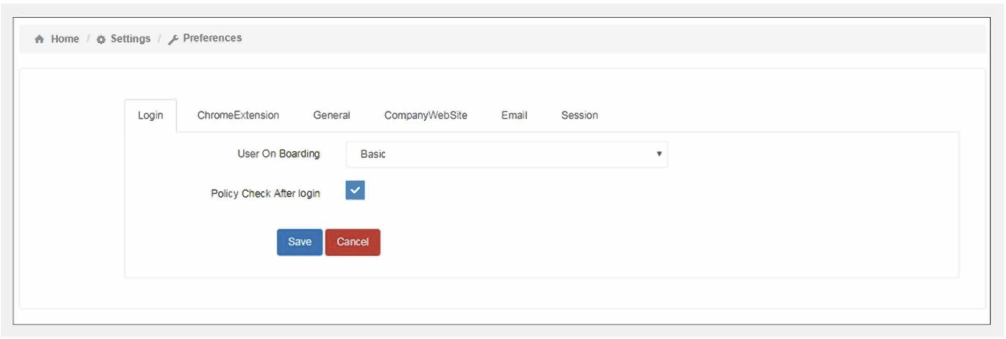
Login
- Select user onboarding from Basic, Google or OPT from dropdown box
- Select the policy “Check After Login” check box and click “SAVE.”
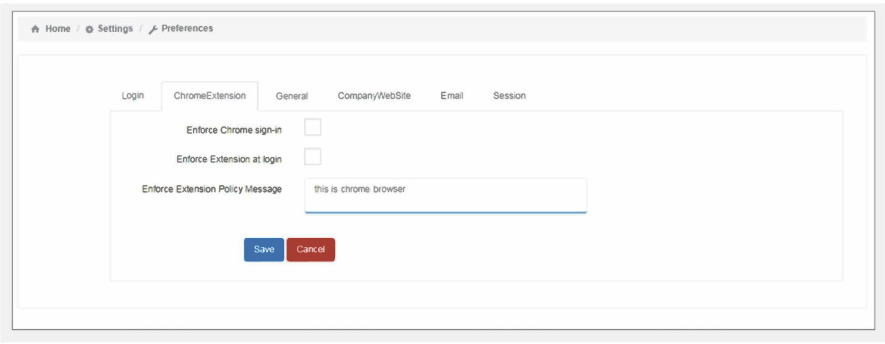
Chrome Extension
- Enforce Chrome sign-in – once you select this option, the admin must follow the Chrome sign in settings in the admin console (by using this setting, extensions will be managed by the admin)
- Enforce Extension at login – by using this setting extension will be managed by the user
- Enforce Extension – policy Message
Click “SAVE” to save the changes.
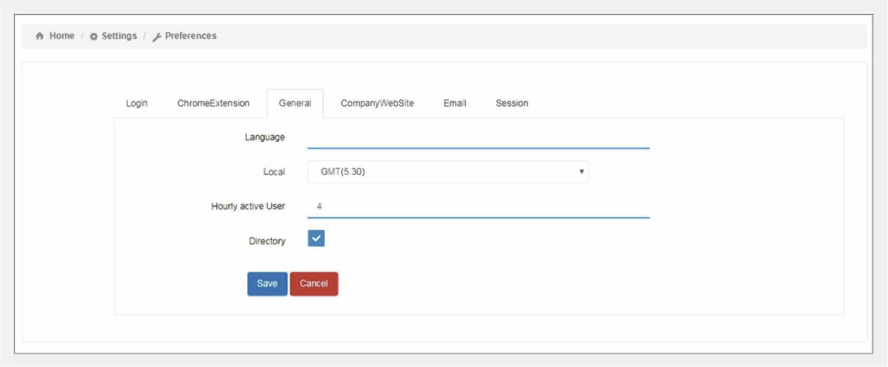
General
- Admins can set language, local zone, and hourly active user count and select the directory
- Click “SAVE” to save all the changes done
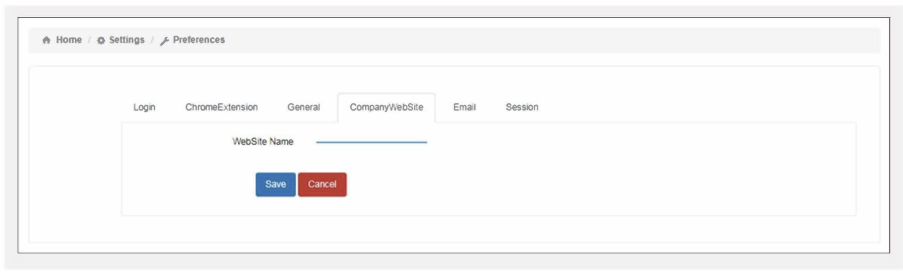
Company Website
- Here the admin can add Company Name and click “SAVE.”
- Note Saving company website name will get reflected in signature section under the Add-Ons Module.
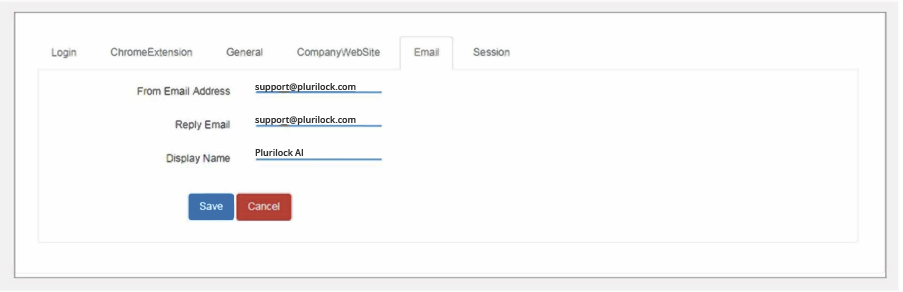
This section is for the admin to handle the common emails such as alerts or password expiry email etc., are directed by Plurilock AI application to the user. The admin can replace the email address shown to the end user.
- The admin updates email details - from email address, reply email, and display Name
- Click “SAVE.”
Session
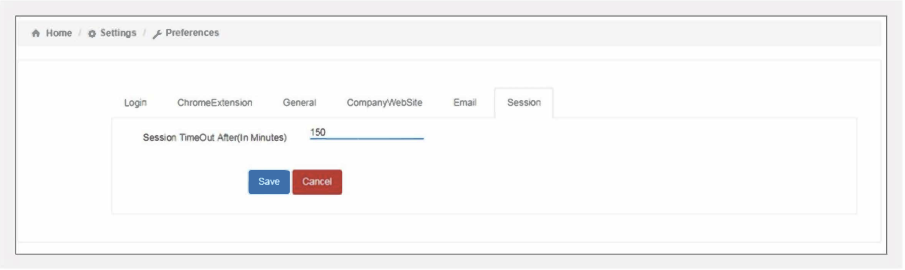
- Admins can define session time out after login to the application. Click “SAVE.”
Was this article helpful?
That’s Great!
Thank you for your feedback
Sorry! We couldn't be helpful
Thank you for your feedback
Feedback sent
We appreciate your effort and will try to fix the article